Lingua
 Cavi per lo scioglimento della neve sono elementi riscaldanti elettrici incorporati o posizionati sotto le superfici per sciogliere automaticamente neve e ghiaccio, prevenendone pericolosi accumuli senza intervento manuale. Che siano installati su un vialetto, sul bordo del tetto, su una grondaia o su una scala esterna, questi sistemi funzionano secondo principi di riscaldamento resistivo e possono ridurre gli incidenti dovuti a scivolamento e caduta fino al 85% secondo i rapporti sulla sicurezza del settore. Questa guida spiega tutto ciò che devi sapere: da come funzionano a quale tipo è adatto alla tua applicazione.
Che cos'è esattamente un cavo per sciogliere la neve e come funziona?
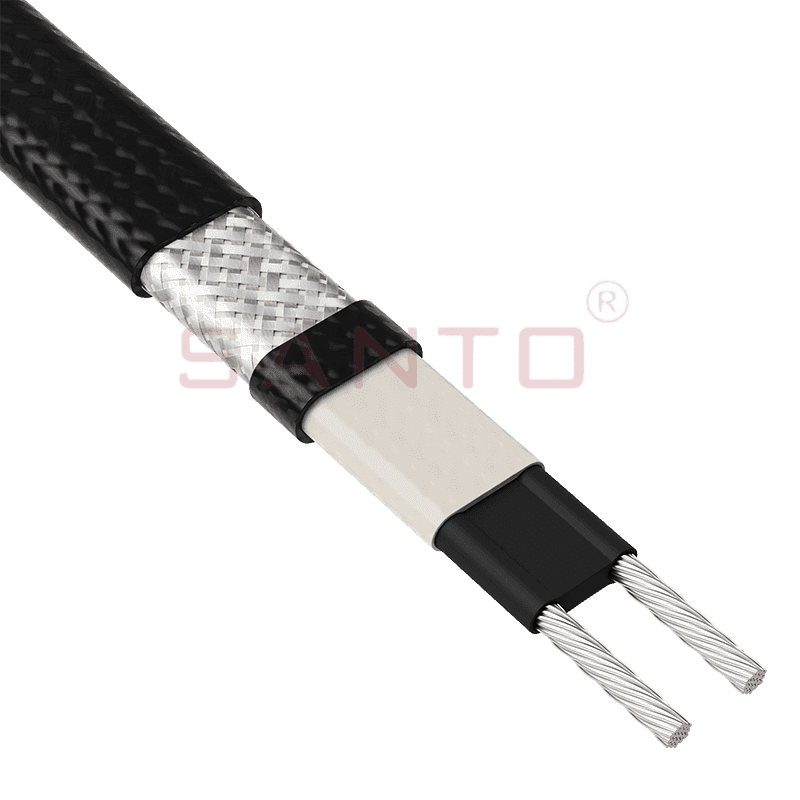
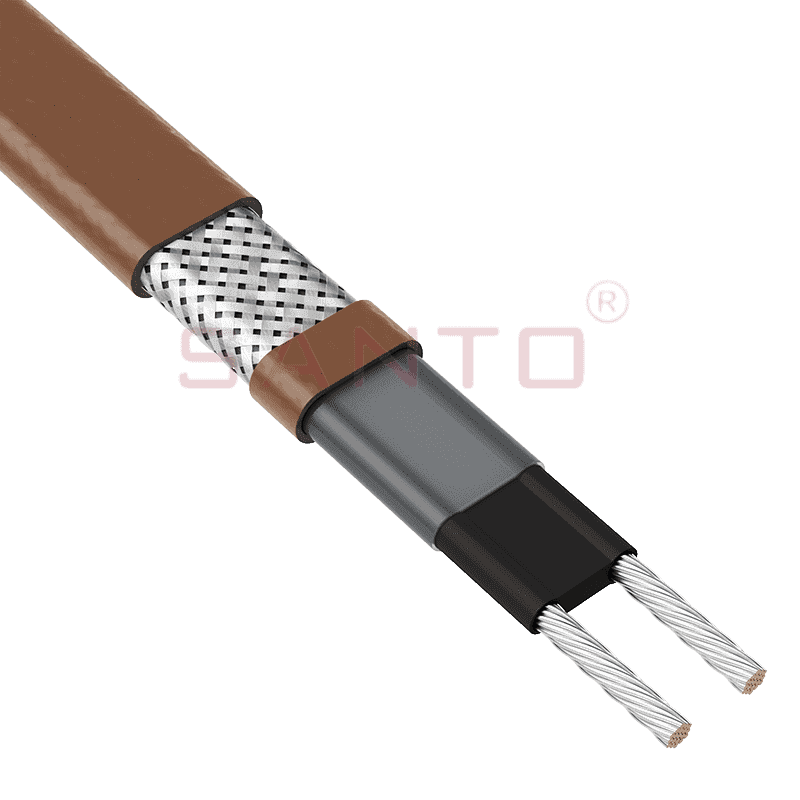
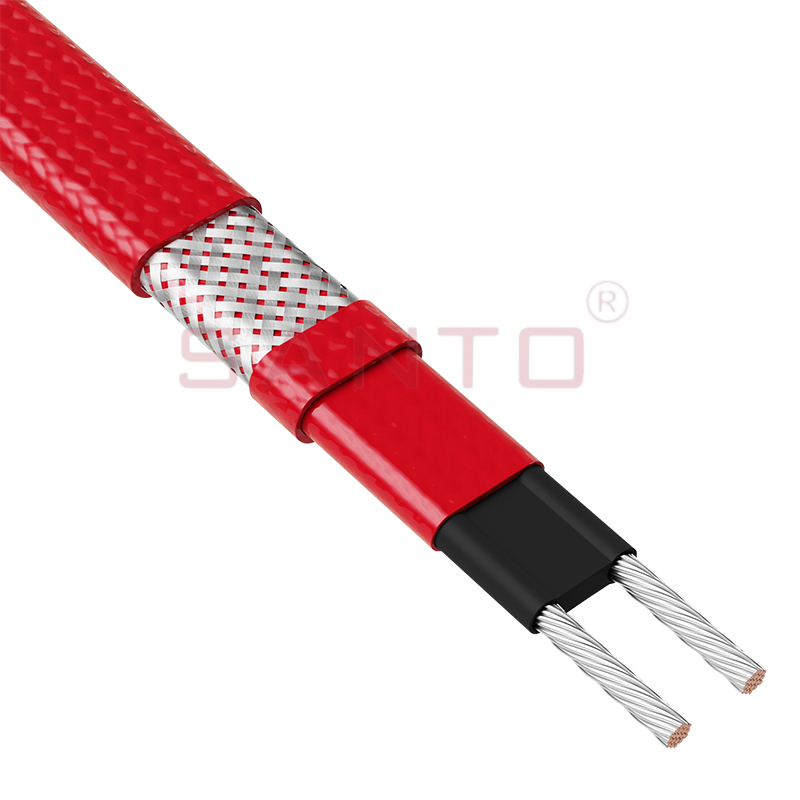
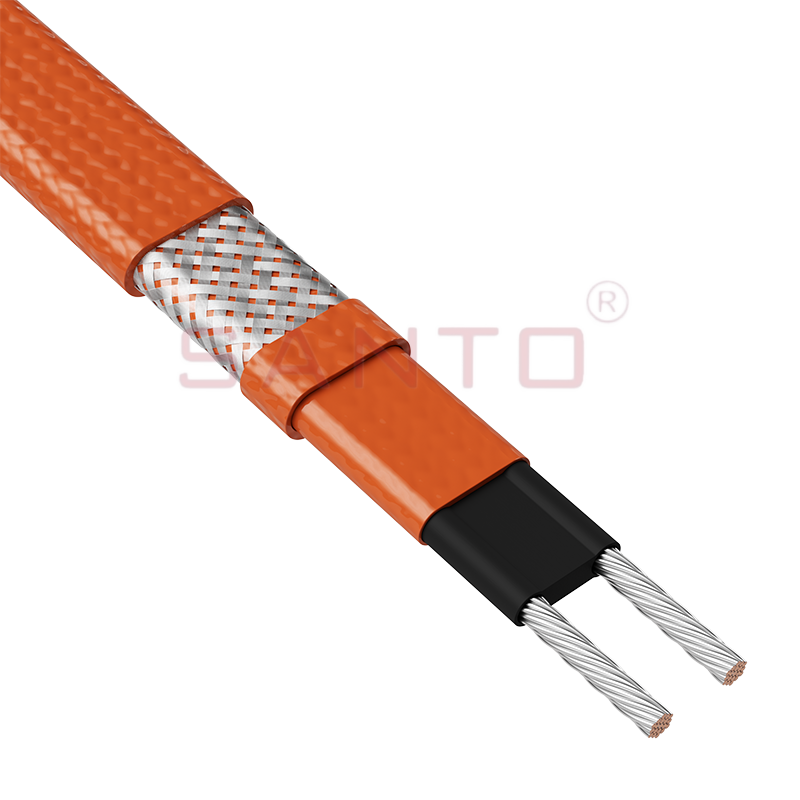
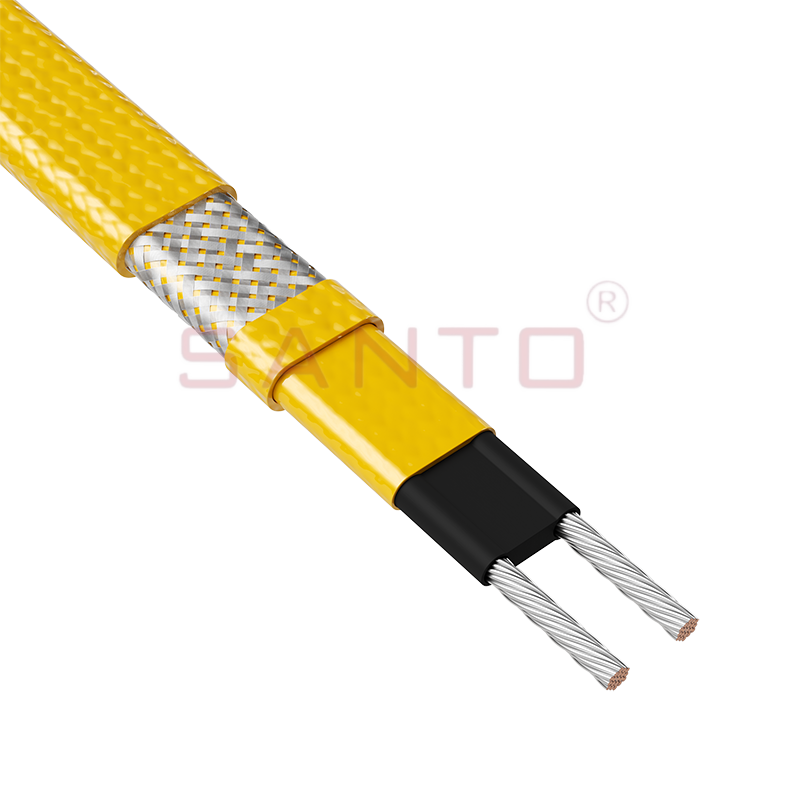
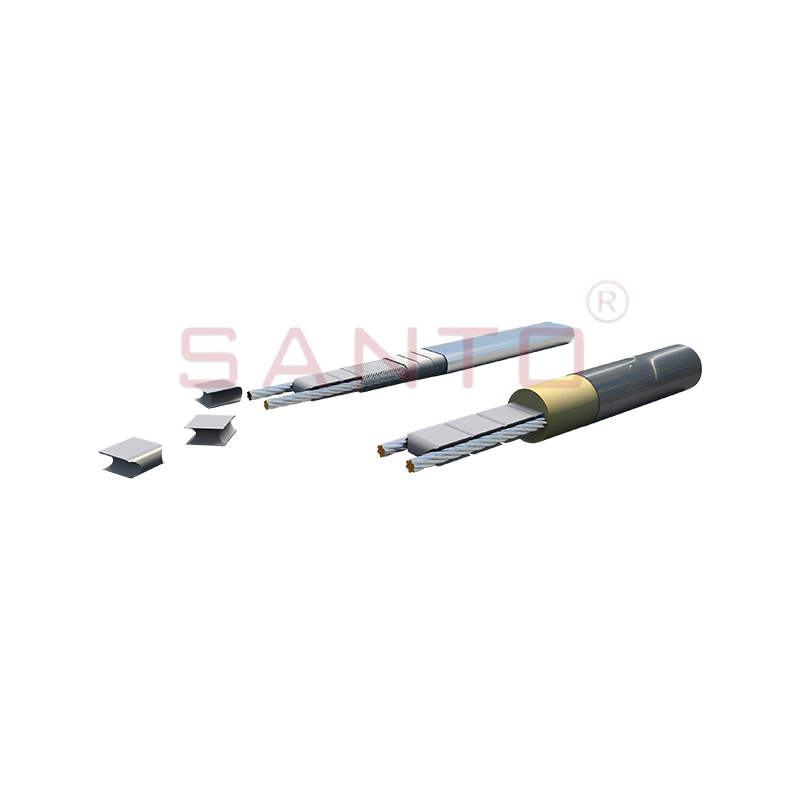
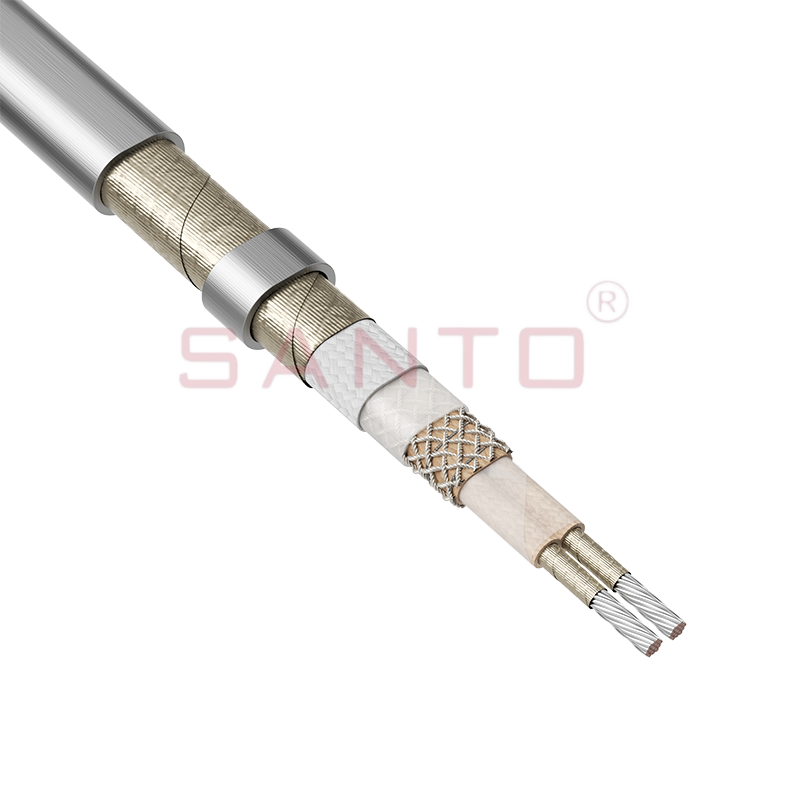
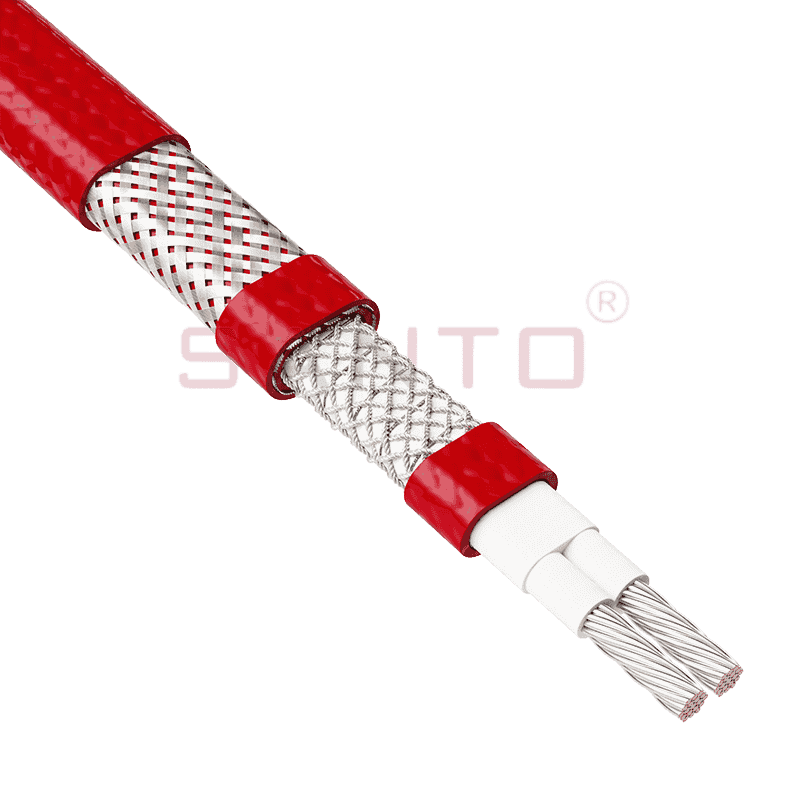
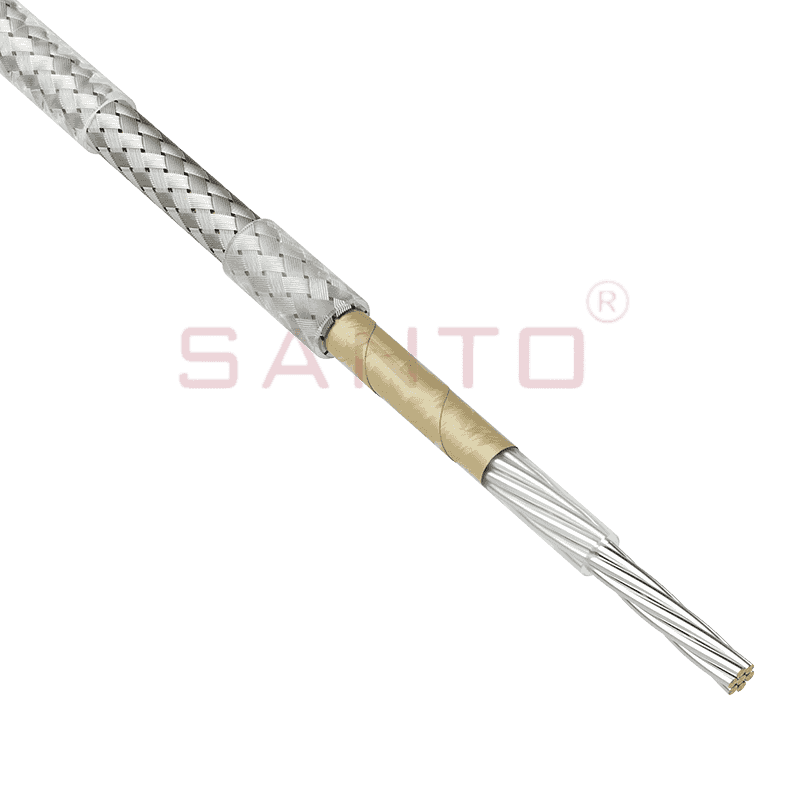
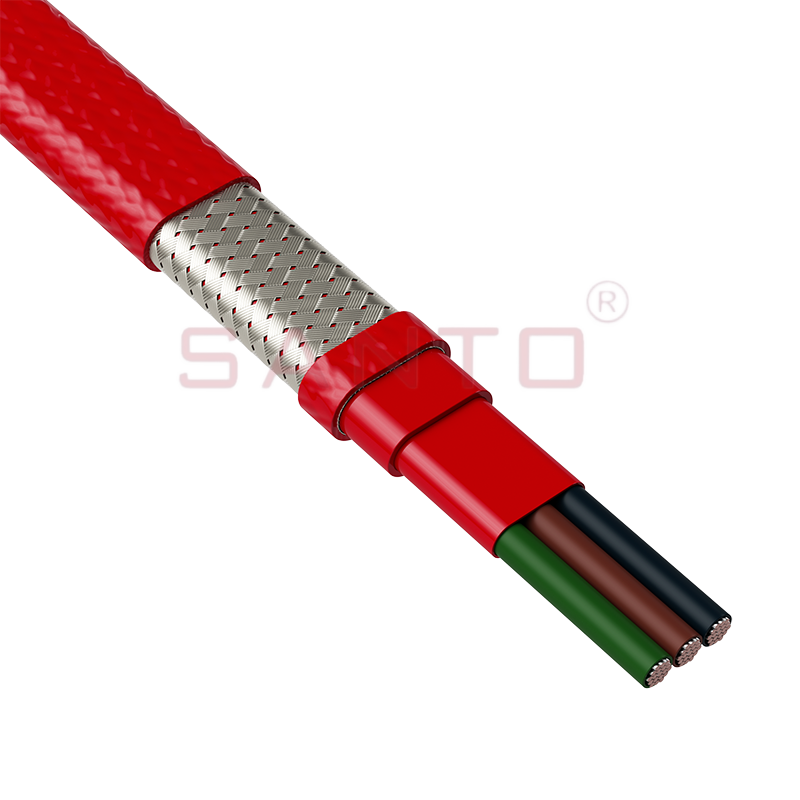
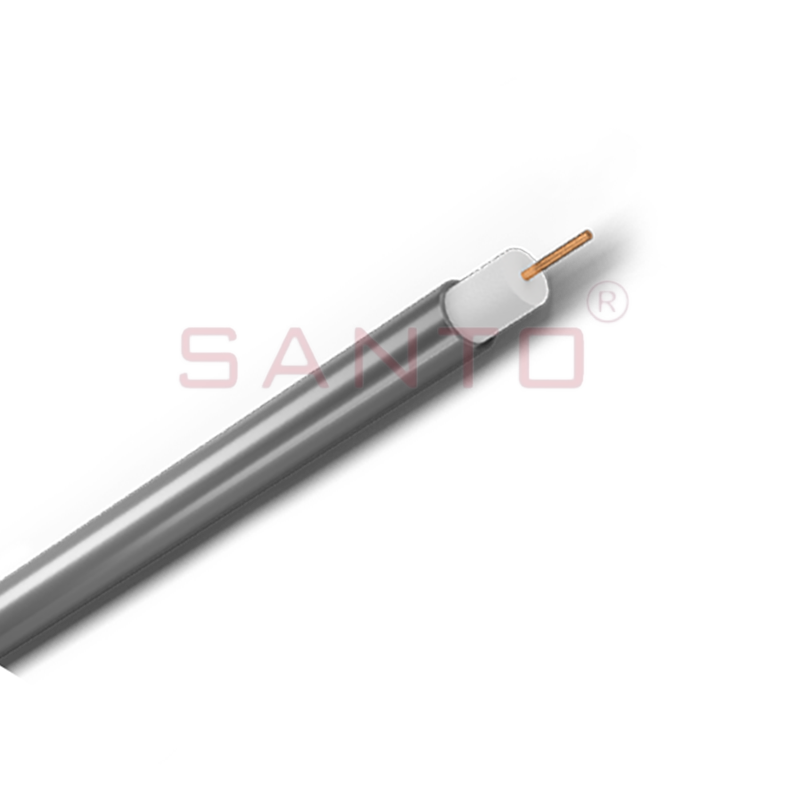
Un cavo per scioglimento della neve è un filo riscaldante elettrico basato su resistenza che converte l'energia elettrica in calore, riscaldando la superficie sopra di esso a una temperatura che scioglie la neve al contatto. Il cavo contiene uno o due nuclei conduttivi (a seconda del modello) circondati da isolamento e un rivestimento esterno protettivo idoneo per uso esterno e interrato.
Quando l'elettricità passa attraverso il nucleo resistivo, genera calore, in genere mantenendo la superficie intermedia 34°F e 50°F (1°C–10°C) - appena abbastanza caldo da impedire a neve e ghiaccio di legarsi. La maggior parte dei sistemi moderni accoppia il cavo con a sensore neve o termostato che si attiva automaticamente quando le temperature scendono e viene rilevata umidità, garantendo che l'energia venga utilizzata solo quando necessario.
La fisica è semplice: per formarsi il ghiaccio richiede un contatto superficiale prolungato sotto lo zero. Mantenendo la superficie leggermente al di sopra del punto di congelamento, i cavi di scioglimento della neve negano al ghiaccio le condizioni di cui ha bisogno: niente raschiatura, niente sale, niente spalatura alle 5 del mattino.
Componenti principali di un sistema di cavi per lo scioglimento della neve
- Cavo scaldante: L'elemento resistivo, disponibile nelle tipologie autoregolante o a wattaggio costante
- Termostato/regolatore: Regola l'accensione e lo spegnimento del sistema in base ai sensori di temperatura e/o umidità
- Sensore neve (aereo o incorporato nel marciapiede): Rileva contemporaneamente le precipitazioni e la temperatura ambiente
- Collegamento di alimentazione e protezione GFCI: Necessario per la sicurezza in ambienti esterni umidi
- Materiale della superficie: Calcestruzzo, asfalto, pavimentazione o substrato del tetto in cui è incorporato o posato il cavo
Quale tipo di cavo per scioglimento neve è adatto alla tua applicazione?
Le due categorie principali - cavi autoregolanti e a potenza costante - differiscono in termini di efficienza energetica, costi e caso d'uso ideale, e la scelta del tipo sbagliato può portare a surriscaldamento, guasti prematuri o sgombero della neve inadeguato.
| Caratteristica | Cavo autoregolante | Cavo a potenza costante |
| Emissione di calore | Si regola automaticamente con la temperatura ambiente | Potenza fissa per piede in tutto |
| Efficienza energetica | Più alto: consuma meno energia in condizioni di freddo mite | Inferiore: piena potenza anche a temperature miti |
| Sicurezza di sovrapposizione | Sicuro se i cavi si incrociano | Può surriscaldarsi nei punti di incrocio |
| Ideale per | Protezione antigelo tubi, sbrinamento tetto | Tappetini riscaldanti per vialetti o pavimenti di grandi dimensioni |
| Potenza tipica | 3–10 W/piedi (variabile) | 10–25 W/piedi (fisso) |
| Durata della vita | 20-30 anni | 15-25 anni |
| Costo iniziale | Più in alto | Più in basso |
Tabella 1: Confronto tra cavi autoregolanti e cavi scioglineve a potenza costante tra i principali parametri prestazionali.
Cavo per scioglimento neve per tipo di superficie
Diverse superfici di installazione richiedono diverse configurazioni di cavi, spaziatura e densità di potenza. Di seguito la suddivisione per applicazione:
- Cavi per scioglimento neve nel vialetto: Tipicamente incorporato nel cemento o nell'asfalto Spaziatura di 3-4 pollici , che richiede 40–50 W/piede quadrato. Un vialetto standard per due auto (400 piedi quadrati) necessita di circa 16.000–20.000 watt di capacità installata.
- Cavi antighiaccio per tetti e grondaie: Posato a zigzag lungo le grondaie e all'interno delle grondaie per prevenire la formazione di dighe di ghiaccio. Tipicamente autoregolante, 5–12 W/ft. Consigliato per tetti con sbalzi eccessivi 24 pollici .
- Cavi scaldanti per passerelle e scale: Installato sotto pavimentazioni o lastre di cemento con una spaziatura di 5-6 pollici. Un percorso largo 4 piedi e lungo 20 piedi richiede circa 3.200 watt a 40 W/mq.
- Cavi di protezione antigelo per tubi: Avvolto a spirale attorno alle linee di rifornimento in vespai non riscaldati o pareti esterne. Si consiglia il tipo autoregolante; tipicamente 3–9 W/piedi a seconda del diametro del tubo e dell'isolamento.
Quanto costa installare e far funzionare un sistema di cavi per sciogliere la neve?
I costi totali del sistema di cavi per lo scioglimento della neve vanno da 1.200 dollari per un'installazione di base di una passerella a oltre 15.000 dollari per una configurazione completa di un vialetto, ma i risparmi operativi in 10 anni spesso superano l'investimento iniziale.
Ripartizione dei costi di installazione
| Applicazione | Zona tipica | Costo del materiale | Costo di installazione | Stima totale |
| Passerella | 80 piedi quadrati | $ 350– $ 600 | $ 800– $ 1.200 | $ 1.150– $ 1.800 |
| Scale (6 gradini) | 30 piedi quadrati | $ 200– $ 400 | $ 500– $ 900 | $ 700– $ 1.300 |
| Vialetto per auto singola | 200 piedi quadrati | $ 900– $ 1.600 | $ 2.000– $ 4.000 | $ 2.900– $ 5.600 |
| Vialetto per due auto | 400 piedi quadrati | $ 1.800– $ 3.200 | $ 4.000– $ 8.000 | $ 5.800– $ 11.200 |
| Sbrinamento del tetto (200 LF) | 200 piedi lineari | $ 400– $ 800 | $ 600– $ 1.200 | $ 1.000– $ 2.000 |
Tabella 2: Costi di installazione stimati per sistemi di cavi per scioglimento neve per tipo di applicazione. I costi variano in base alla regione, alle tariffe dell'appaltatore e al materiale di superficie.
Costi operativi: cosa aspettarsi dalla bolletta elettrica
Un sistema di riscaldamento per un vialetto di 200 piedi quadrati che funziona a 40 W/piede quadrato consuma circa 8 kW all’ora – alla tariffa elettrica media statunitense di 0,16 dollari/kWh, ovvero circa 1,28 dollari per ora di funzionamento.
Con un controller intelligente del sensore neve, il sistema potrebbe funzionare 100–200 ore per stagione invernale in un clima come Portland o Denver, il che si traduce in un costo operativo stagionale di circa $ 128– $ 256 per quella zona di 200 piedi quadrati. Confronta questo con i costi nascosti della rimozione manuale della neve:
- Servizio spazzaneve: $ 35–$ 75 per visita, potenzialmente 15–30 visite/anno = $525–$2.250/anno
- Salgemma (corrosivo, danneggia il cemento): $ 8-$ 15 per sacco da 50 libbre, diversi sacchi a stagione
- Riparazione del calcestruzzo dai danni dovuti al gelo-disgelo: $ 3–$ 7 per piede quadrato, ogni 5–10 anni
- Esposizione alla responsabilità per scivolamento e caduta: la risoluzione media delle cause legali per scivolamento supera $ 20.000
Perché i cavi per lo scioglimento della neve superano le prestazioni di sale, sabbia e spalatura manuale
Cavi per lo scioglimento della neve eliminate the need for chemical deicers and manual labor entirely, while also protecting the structural integrity of concrete and asphalt over decades of use.
Vantaggi ambientali e strutturali
Il salgemma (cloruro di sodio) e il cloruro di calcio sono i prodotti chimici antighiaccio più utilizzati nel Nord America. Secondo l'US Geological Survey, gli americani si applicano approssimativamente 8 milioni di tonnellate di sale stradale all'anno . Le conseguenze:
- Spaccatura del calcestruzzo: Il sale accelera i cicli di gelo-disgelo all'interno dei pori del calcestruzzo, causando incrostazioni superficiali entro 3-5 anni di uso regolare
- Uccisione della vegetazione: Il deflusso del cloruro danneggia o uccide erba, arbusti e alberi entro 10-15 piedi dalle superfici trattate
- Corrosione del veicolo: Gli aerosol salini corrodono le linee dei freni, i telai e i cerchi in lega, con un costo stimato per gli automobilisti statunitensi 3 miliardi di dollari all’anno
- Contaminazione dell'acqua: Il deflusso del sale entra nei canali di scolo e aumenta i livelli di cloruro nei corsi d'acqua locali, danneggiando gli ecosistemi acquatici
I cavi per lo scioglimento della neve non utilizzano sostanze chimiche, non producono deflussi e mantengono le superfici in condizioni migliori a lungo termine, rendendoli non solo più convenienti, ma superiori dal punto di vista strutturale e ambientale.
Confronto sulla sicurezza: sistemi di cavi e metodi tradizionali
| Metrica di sicurezza | Cavo per lo scioglimento della neve | Sale/Chimico | Spalare manuale |
| Tempo di risposta senza ghiaccio | Immediato (prelazione) | 15–45 minuti | Variabile (manuale) |
| Riduzione del rischio di scivolamento e caduta | Fino all'85% | 40–60% | 50-70% (se tempestivo) |
| Efficacia inferiore a -10°F | Sì (con potenza adeguata) | No (sale inefficace <15°F) | Sì, ma fisicamente impegnativo |
| È necessario il lavoro umano | Nessuno | Moderato | Alto |
| Danni superficiali oltre 10 anni | Minimo | Significativo (squamazione, screpolature) | Basso |
Tabella 3: Confronto tra sicurezza ed efficacia dei cavi per lo scioglimento della neve rispetto ai tradizionali metodi di manutenzione invernale.
Come installare i cavi per lo scioglimento della neve: una panoramica passo passo
Una corretta installazione è il fattore più importante per le prestazioni del cavo in caso di scioglimento della neve: una spaziatura errata o una densità di potenza insufficiente comporteranno uno scioglimento irregolare e zone ghiacciate.
Per nuovi vialetti in cemento o asfalto
- Pianifica la disposizione: Calcolare la potenza richiesta in base alla superficie e alla zona climatica locale. Le regioni fredde (Zona 5 e inferiori) necessitano di 50 W/piede quadrato; i climi moderati possono utilizzare 40 W/sq ft.
- Preparare il sottofondo: Viene gettata la base in ghiaia compatta; il cavo viene installato prima del getto di cemento o asfalto.
- Posare il cavo secondo uno schema a serpentina: Lo spazio si avvolge a 3-4 pollici di distanza utilizzando fermacavi o rete metallica per mantenere la posizione durante il getto.
- Evitare incroci e curve strette: Mantenere un raggio di curvatura minimo (in genere 1 pollice) per evitare danni ai punti caldi.
- Installare i cavi freddi alla scatola di giunzione: Passare dal cavo scaldante al cavo non scaldante prima del bordo della superficie, quindi correre fino al quadro elettrico.
- Collegare il termostato/sensore neve: Montare il sensore dell'antenna lontano da fonti di calore e da ostacoli; impostare la soglia di attivazione su 38°F con il rilevamento dell'umidità abilitato.
- Effettuare test di continuità e resistenza prima di versare il calcestruzzo. Sostituire qualsiasi sezione danneggiata: è impossibile ripararla dopo l'incapsulamento.
- Versare e polimerizzare la superficie: Attendere il tempo di maturazione completo (28 giorni per il calcestruzzo) prima di attivare il sistema.
Per superfici esistenti (Retrofit)
L'adeguamento dei cavi per lo scioglimento della neve ai vialetti esistenti richiede la posa di cavi in superficie sotto nuove pavimentazioni o sistemi di copertura: lo scavo completo è raramente economicamente vantaggioso. Le opzioni includono:
- Sistemi di finitrici: Rimuovere e rimontare le finitrici con il cavo inserito nella sabbia polimerica sottostante
- Sovrapposizione sottile: Uno strato di calcestruzzo da 1,5–2 pollici viene applicato sopra l'asfalto o il cemento esistente con cavi incorporati
- Clip per cavi sul tetto (per lo sbrinamento): Non è necessario alcuno scavo: i cavi si fissano tramite fermagli in plastica lungo le tegole
Quali zone climatiche beneficiano maggiormente dei cavi che si sciolgono le nevi?
Cavi per lo scioglimento della neve deliver the greatest return on investment in USDA Hardiness Zones 3 through 6, where average annual snowfall exceeds 40 inches and temperatures regularly drop below 20°F.
Tuttavia, anche i climi delle Zone 7 e 8 (Pacifico nord-occidentale, parti del Medio Atlantico) ne traggono notevoli benefici: in queste regioni, la pioggia gelata e le tempeste di ghiaccio creano condizioni pericolose che il sale difficilmente gestisce. Seattle, ad esempio, ha una media di meno di 10 giorni di neve all’anno, ma sperimenta eventi di ghiaccio che chiudono le strade per giorni interi. Un sistema di cavi per lo scioglimento della neve in tali climi può avere un periodo di ammortamento di appena 3–5 anni quando si tiene conto dei danni evitati e dei costi di servizio.
| Zona climatica | Città di esempio | Nevicate annuali | Sistema consigliato | Stima Periodo di rimborso |
| Zona 3–4 | Minneapolis, Buffalo | 60-100 pollici | 50 W/piede quadrato, copertura completa | 4–6 anni |
| Zona 5–6 | Denver, Chicago | 30-60 pollici | 40 W/mq, camminamenti nel vialetto | 5–8 anni |
| Zona 7–8 | Seattle, Portland | 5-20 pollici (eventi sul ghiaccio) | Autoregolante, camminamento delle scale | 3–5 anni |
Tabella 4: Configurazioni consigliate dei cavi per lo scioglimento della neve e periodi di ammortamento stimati per zona climatica degli Stati Uniti.
Domande frequenti sui cavi per lo scioglimento della neve
D: È possibile installare i cavi scioglineve sotto l'asfalto esistente senza sostituirli completamente?
Sì, ma solo con il metodo overlay. Non è possibile inserire i cavi nell'asfalto esistente e stagionato senza danneggiare il cavo. Invece, uno strato di asfalto o cemento da 1,5–2 pollici viene applicato sopra la superficie esistente con i cavi incorporati al suo interno. Questa operazione è meno invasiva della sostituzione completa e in genere comporta dei costi 30–40% in meno che partire da zero.
D: Quanto durano i cavi scioglineve?
I cavi scioglineve di qualità durano 20-30 anni se installati correttamente - spesso sopravvivono al materiale di superficie sopra di loro. La causa principale di guasti prematuri sono i danni meccanici durante l'installazione (curvature brusche, forature di chiodi) o lo stress da gelo e disgelo dovuto a una profondità di seppellimento inadeguata. Cavi interrati nella misura consigliata Profondità 2-3 pollici nel calcestruzzo sono protetti da entrambi.
D: È sicuro lasciare i cavi scioglineve incustoditi?
Sì, tutti i sistemi devono essere protetti tramite codice GFCI e la maggior parte dei sistemi moderni sono progettati specificamente per il funzionamento automatico non presidiato. Con un controller del sensore adeguatamente cablato, il sistema si accende quando le soglie di temperatura e umidità vengono raggiunte e si spegne automaticamente quando le condizioni migliorano. I cavi scaldanti incorporati installati correttamente non presentano alcun rischio di incendio, poiché sono progettati per l'uso continuo all'esterno e il cemento o l'asfalto che li circonda agisce come una massa termica che limita i picchi di temperatura superficiale.
D: I cavi scioglineve funzionano in caso di forti nevicate, ad esempio 12 pollici o più?
Possono, ma gli scenari con forti nevicate richiedono una maggiore densità di potenza e il sistema deve essere in funzione prima che la neve si accumuli. A 40 W/piede quadrato, un sistema può sciogliere circa 1-2 pollici di neve all'ora in condizioni tipiche. Per le regioni con forti nevicate superiori a 2 pollici/ora, si consigliano 50 W/piedi quadrati. La preattivazione tramite un controller delle previsioni del tempo (che monitora le previsioni con 12-24 ore di anticipo) garantisce che la superficie sia calda quando arriva la neve.
D: Un sistema di cavi per lo scioglimento della neve aumenterà il valore della mia proprietà?
I periti immobiliari classificano i vialetti riscaldati come un servizio premium e, nei mercati a clima freddo, possono aggiungere l'1-3% al valore stimato della casa. Nei mercati residenziali di fascia alta (case sopra i 600.000 dollari negli stati settentrionali), un sistema completo di vialetti e passerelle riscaldati è sempre più previsto piuttosto che eccezionale, rendendo la sua assenza un potenziale aspetto negativo in una quotazione competitiva.
D: Posso installare da solo un sistema di cavi per scioglimento della neve (fai-da-te)?
La disposizione dei cavi in sé è adatta al fai-da-te, ma nella maggior parte delle giurisdizioni il collegamento elettrico deve essere eseguito da un elettricista autorizzato. Sono disponibili tappetini riscaldanti preassemblati con spaziatura fissa che i proprietari di case possono posare prima che un appaltatore getti il calcestruzzo. Tuttavia, il sottodimensionamento del circuito, il mancato rispetto della protezione GFCI o il posizionamento errato del sensore sono errori comuni del fai da te che riducono le prestazioni e invalidano le garanzie del produttore. Budget per un elettricista autorizzato per il collegamento finale, in genere $ 300– $ 600 .
D: Qual è la differenza tra un cavo per sciogliere la neve e un nastro termico?
Il nastro termico (o traccia termica) è un cavo autoregolante o a potenza costante utilizzato principalmente per la protezione antigelo dei tubi, non per lo scioglimento della neve superficiale. Cavi per lo scioglimento della neve are specifically engineered for burial in concrete or asphalt and are rated for higher compressive loads. Using heat tape in a driveway application — or vice versa — is a code violation and will likely result in premature failure.
Conclusione: vale la pena acquistare un sistema di cavi per sciogliere la neve?
Per i proprietari di case nelle regioni della cintura di neve, i cavi per lo scioglimento della neve rappresentano uno degli investimenti invernali con il ROI più elevato disponibile, combinando sicurezza, longevità della superficie e risparmi sui costi a lungo termine in un unico sistema automatizzato.
L'investimento iniziale varia da circa $ 1.200 per una passerella di base fino a $ 11.000 per un vialetto completo , ma l’eliminazione dei contratti di aratura, dei prodotti chimici antighiaccio, della riparazione del calcestruzzo e dell’esposizione alla responsabilità significa che la maggior parte dei sistemi si ripaga da sola entro 5-8 anni – e continua a fornire valore per due decenni oltre.
Che tu stia costruendo una nuova casa, pianificando la ristrutturazione di un vialetto o cercando di proteggere un membro anziano della famiglia da una scivolata pericolosa, un sistema di cavi per lo scioglimento della neve non è più un lusso: è una decisione infrastrutturale sensata e a lungo termine. Scegli un cavo autoregolante per applicazioni su tetti e tubazioni, tappetini a potenza costante per grandi getti vialetti e abbina qualsiasi sistema a un termostato intelligente con sensore neve per mantenere i costi operativi quanto più bassi possibile.
Pianifica in anticipo. Installare prima dell'inverno. E non spalare mai più.